Getting Started
This guide is for everyone who has been invited to an organization on FLYLOG.io for Business. It explains what you see after login and where to find things.
Joining the Organization
You receive an invitation email from your organization. Open the link in it and create your FLYLOG.io account with the same email address the invitation was sent to: enter a password and confirm. If that email address is also your Google or Apple account, you can later log in with Continue with Google or Continue with Apple instead of the password; it opens the same account. If you already have a FLYLOG.io account with that email, simply log in and the organization is added to it.
Your Role
Your Admin gives you a role when inviting you, and the role decides what you see and can do:
Basic: book aircraft, see your own flights, totals and balance. Typical for members and renters.
Student: the same, plus your training syllabus.
Pilot: the same as Basic, plus adding your own flights for a limited time after landing.
Instructor: the full schedule, confirming reservations, signing training records and syllabus progress. See For Instructors.
Viewer: read-only access to the organization's data, for example for a CAMO or accountant.
Admin: full access to settings, aircraft, people, fees and invoicing.
Platform and Apps
FLYLOG.io is multiplatform: it works as an app for iOS and Android and in the browser at app.flylog.io. Your data is the same everywhere. Most members use the mobile app day to day; the web app is handy for a larger view of the schedule and your flights.
Switching Between Accounts
The organization name or logo in the top corner is a switcher. Use it to move between your organization and your personal FLYLOG.io pilot logbook, and between organizations if you belong to more than one.
What You See
The same five areas are available in both apps, laid out for the screen size.
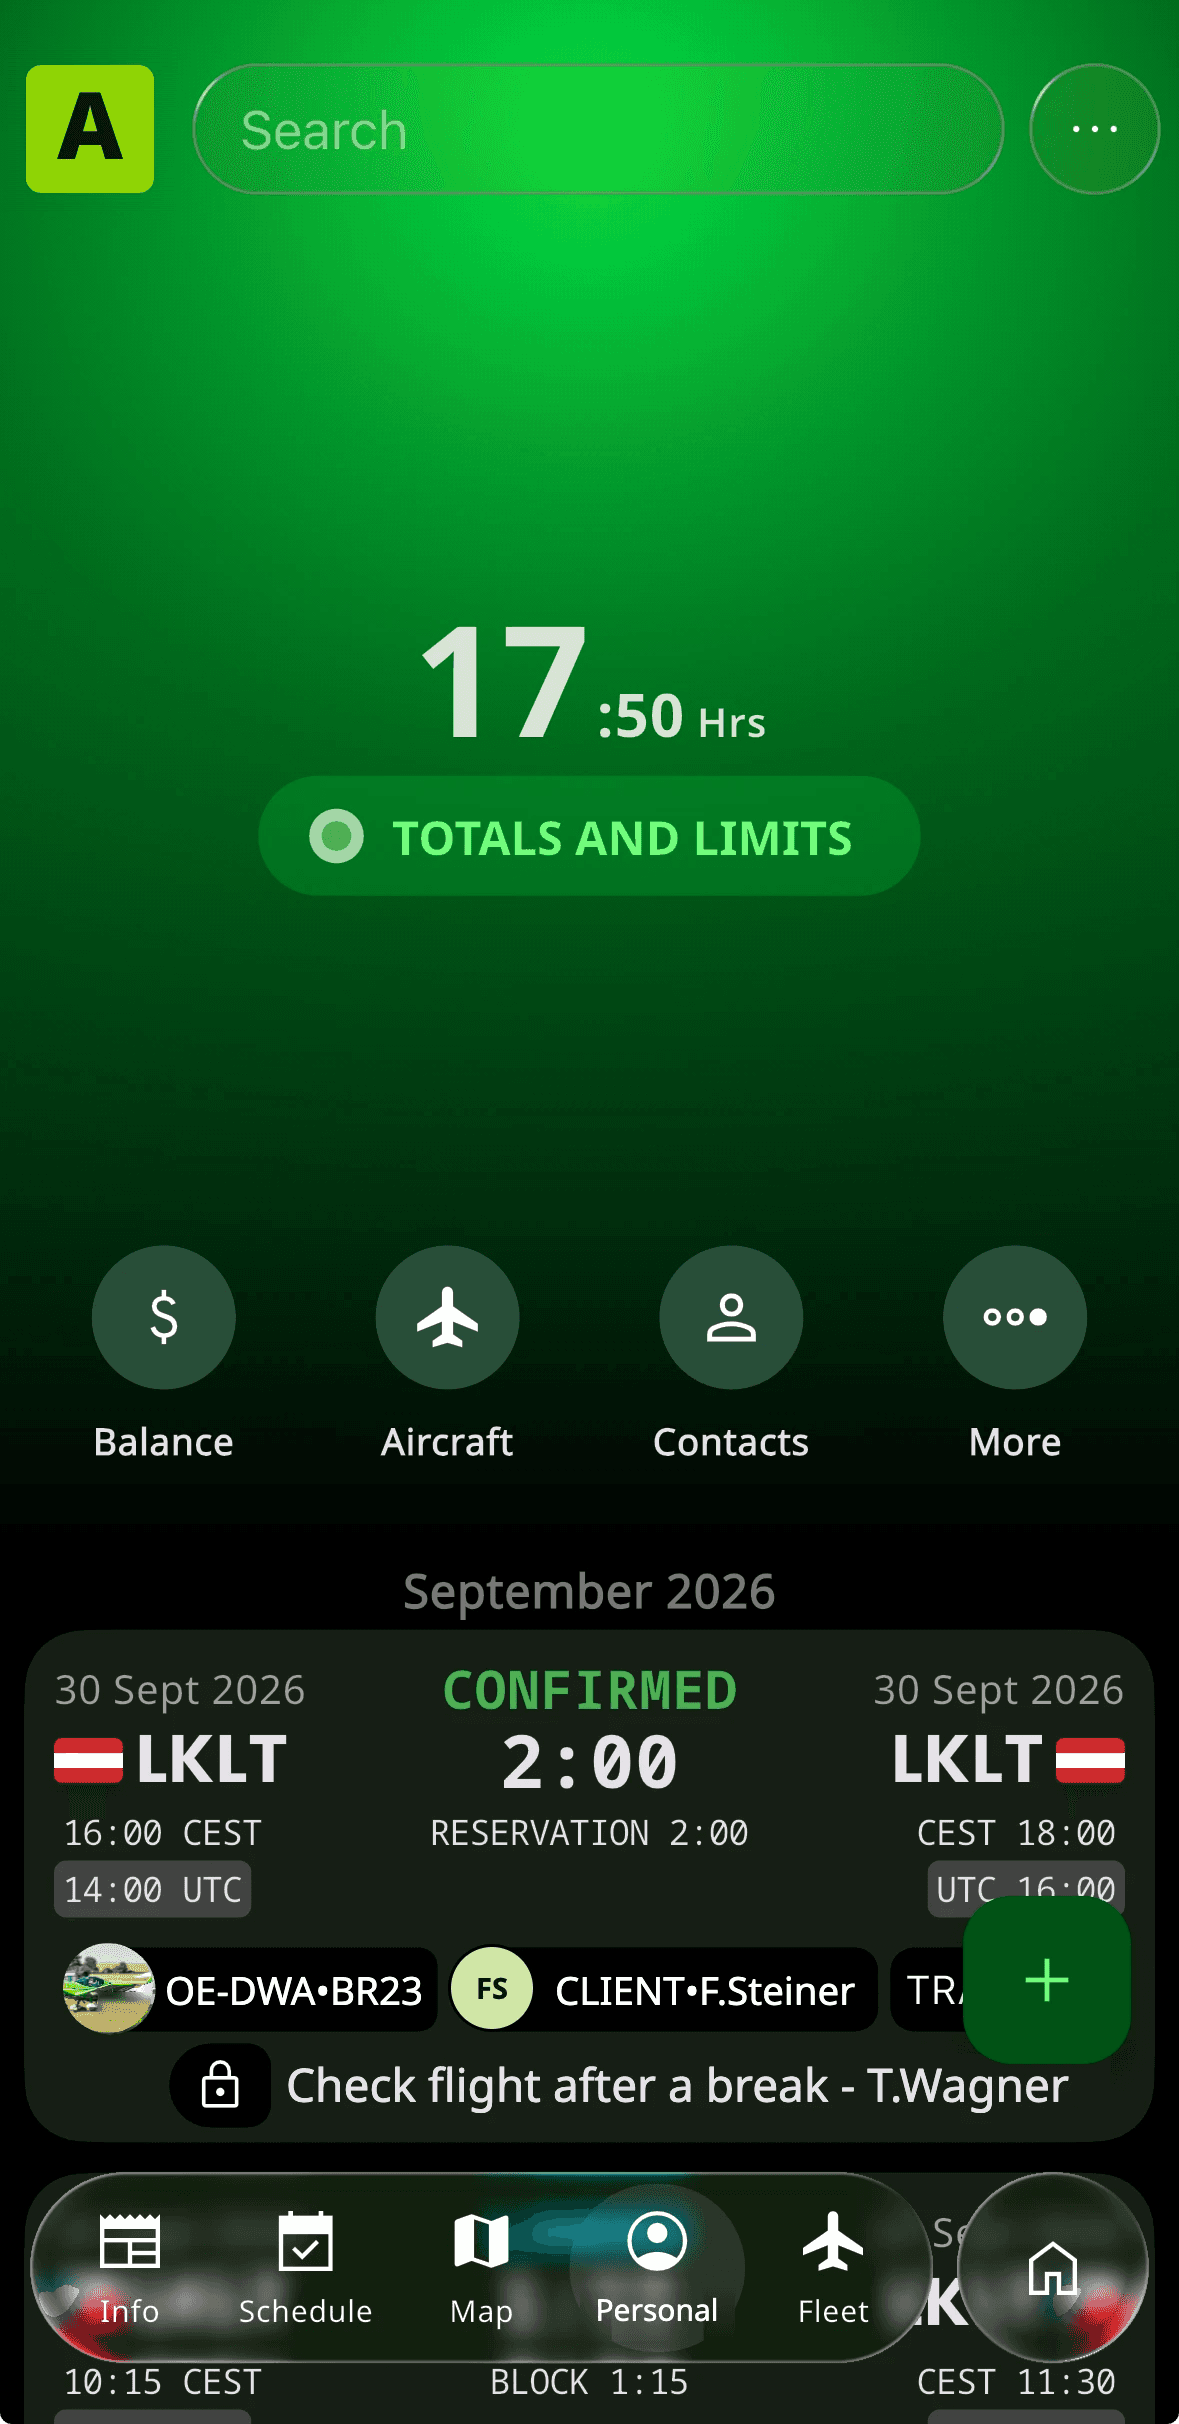
Mobile app: the bottom bar has Info, Schedule, Map, Personal and Fleet. Personal is your home screen: your total hours in the organization, buttons for Balance, Aircraft, Contacts and More, and below them your reservations and flights. The + button starts a new reservation.
Web app: the left menu has Info & Docs, Schedule, Map and Personal, which opens Flights, Totals, Fleet and Contacts. Your balance is shown in the top bar.

What each area is for:
Info & Docs: announcements and documents from your organization. Check it for news, rules and manuals.
Schedule: the booking calendar. You see when aircraft are available and can make a reservation. Whether you also see other people's bookings depends on your organization's privacy setting.
Map: live positions of the organization's aircraft.
Personal: your reservations and flights, your balance, your flight time and landings in this organization, the aircraft you can book, and the contacts your organization shares with you. If your organization has enabled a training syllabus for you, your progress is here too.
Members with Instructor rights see more: the full schedule with all bookings, and the option to confirm reservations and sign training records.
Next Steps
Book your first flight and enter the post-flight details after landing: see Booking Aircraft.
Use FLYLOG.io as your personal pilot logbook too: every landed flight with your organization can be copied to your own logbook with one tap, so you never enter a flight twice. The personal logbook is a separate FLYLOG.io for Pilots subscription, independent of your organization's account. See Sync with Pilot Logbook.